
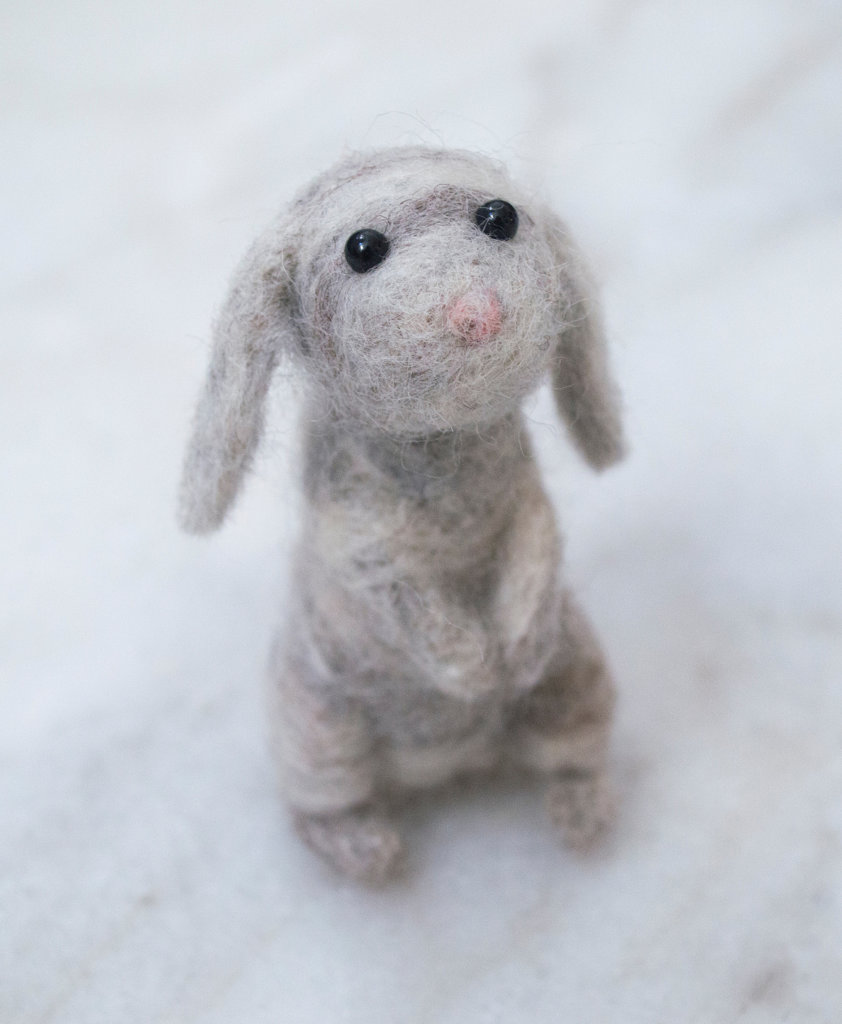
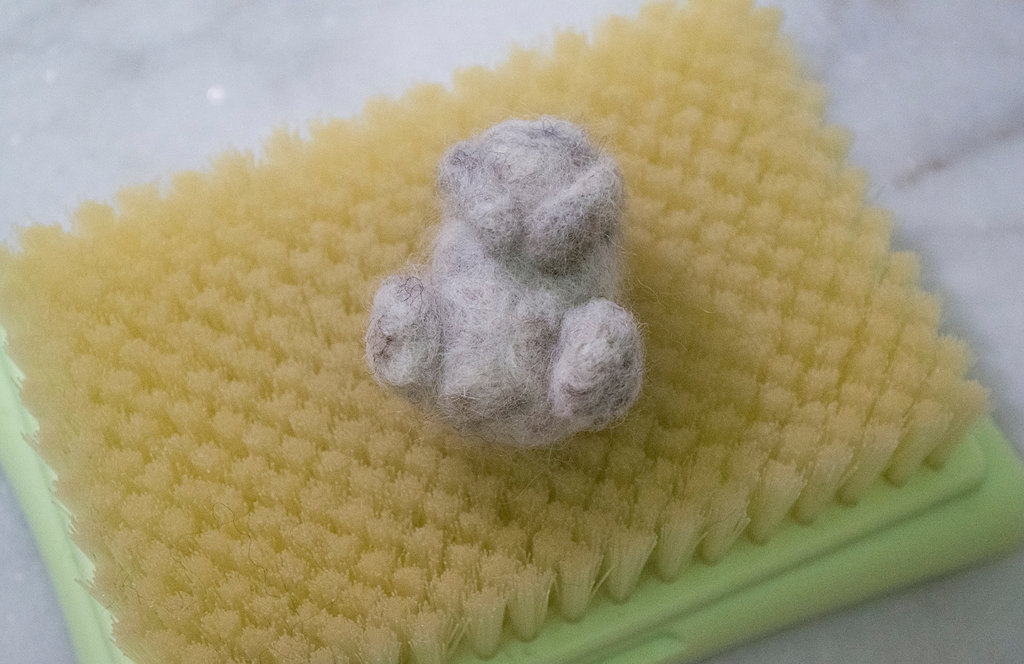
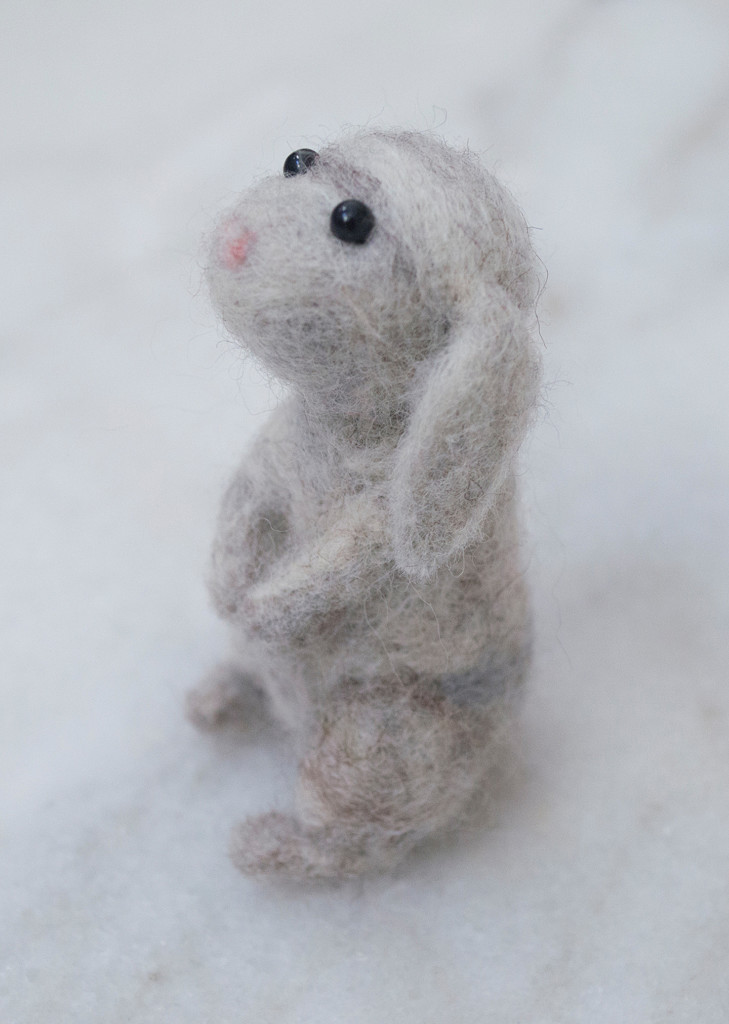
I finished making this adorable lop bunny a week after I made the black cat for my hubby. I mean, I couldn’t just make a cat for him and nothing for myself, so I, undoubtedly, made this little one! I *love* bunnies, though I’m quite partial to lops because of their full cheeks and floppy ears! I also cheerfully giggle when they stand up on their hind legs. It was the obvious choice when coming up with a posture to actualize.

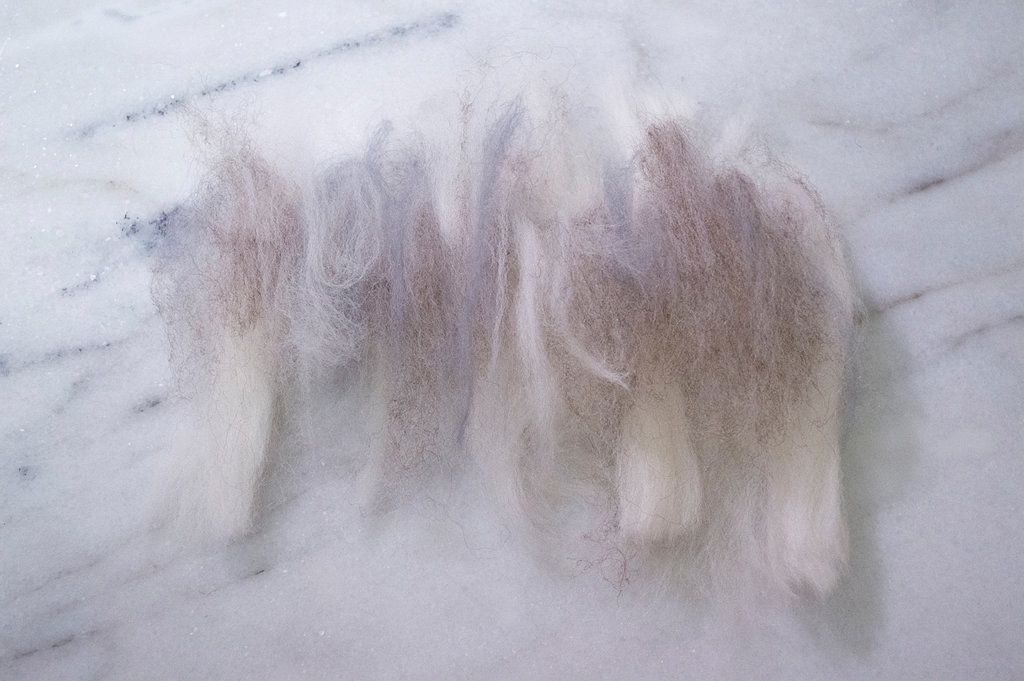
I didn’t want to use just one color to make this lop bunny. I had a bunch of colors on hand and decided on a blend of three colors: a natural cream as a base, and some heather brown with additional flecks of grey roving.
I cut about two lengths of 15cm of cream wool, and 7-8cm lengths of brown and grey; for the cream, I took the whole section of wool (the 2oz balls of color come wrapped in a ball, and it’s easy to unwrap a length of wool to use), and only took small bits of wool for the other two. In the end, it all depends on if you want a grey bunny, or a brown one. I decided to lean more towards a brown bunny.
Blending the Wool For the Lop Bunny
Thin the cream wool roving by spreading it apart, and intersperse the wool with the brown and grey.
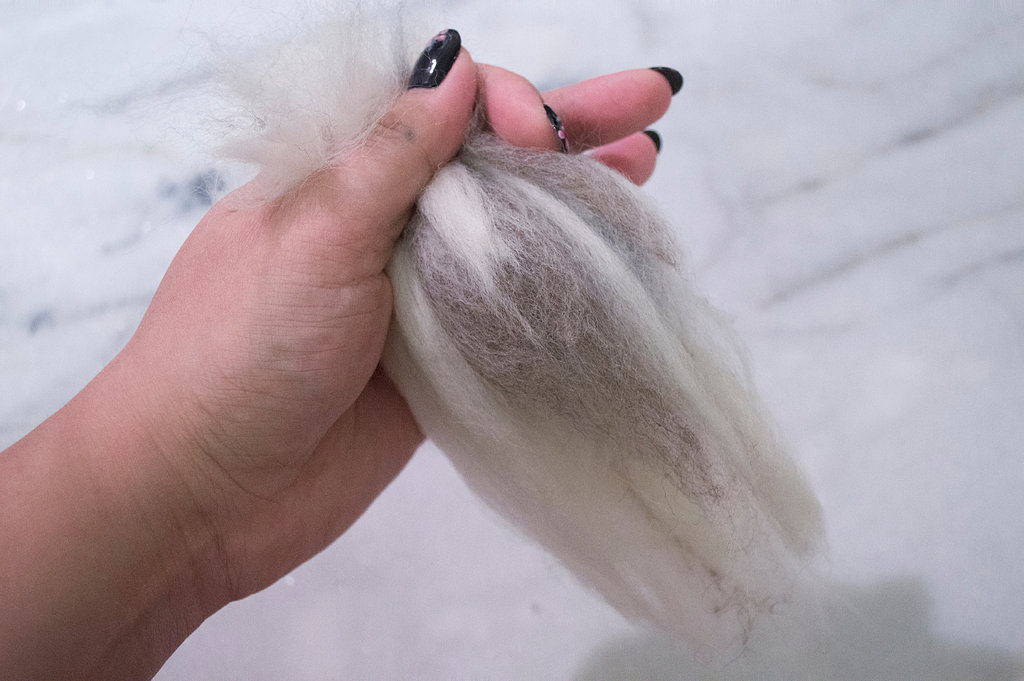
Next, gather the bunch on one end, holding it firmly between the thumb and index finger. While continuing to hold, proceed to pull from the other end, and then re-gather the pulled wool back to the thumb and index finger. By repetitively pulling and gathering the wool, you are essentially *hand-carding* the roving, and blending all of the colors together. Don’t be afraid to make smaller bunches of wool; sometimes the bunch can be thick and difficult to pull. After pulling all of the small bunches, bring it all together and quickly blend once more to homogenize.
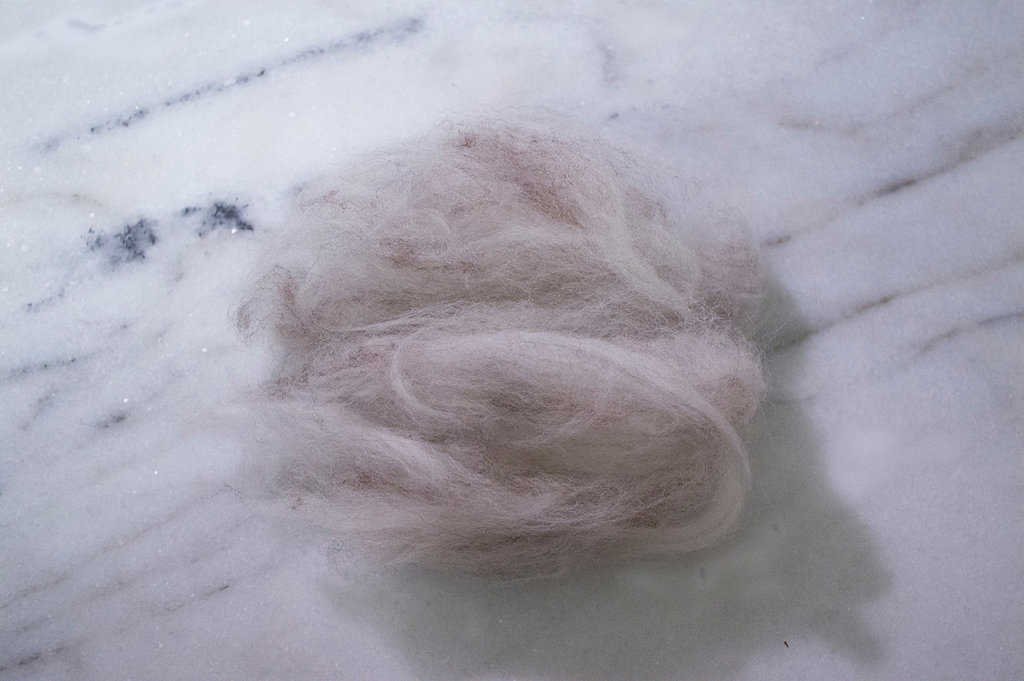
After repeatedly pulling the three colors, the wool looks more incorporated.
*Just like the black cat loaf, I used a pair of scissors, a measuring tape, some plastic eyes, a speed needle, glue, felting pen, felting mat, and embroidery scissors (or small shears) to make this project. Check out the black cat tutorial for a photo of all of the supplies.*
Here is some important information before you *bunny hop* your way through the felting… taken from an older post:
**I found it easier to make each body part first, sans detail, then add the details in while assembling. The basic needle-felting rules apply every time you felt: felt the wool in an up-and-down motion to prevent the needle from breaking; use a felting mat to protect your project, your hands, and your needles; shape the wool as you go, keeping sections of the wool less dense until you are set on its shape; keep the joints un-felted to ease the joining of parts; and use more roving to build upon sections that are already felted.**
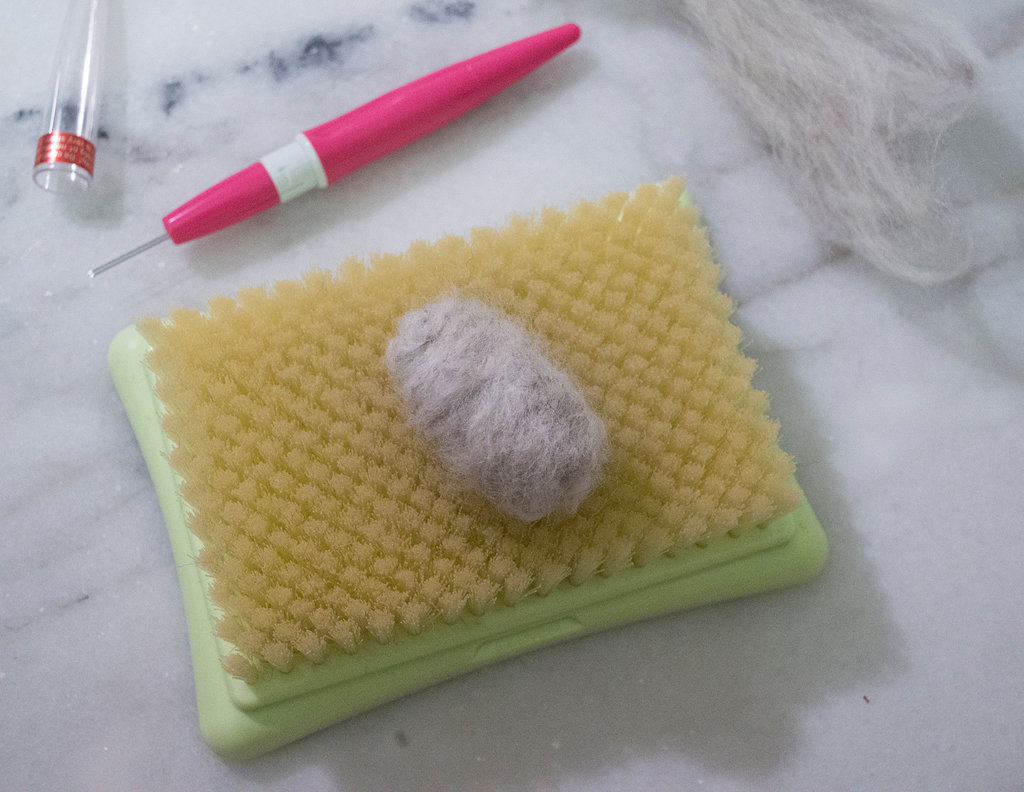
With your blended wool, take about a third of the bunch and begin rolling and tacking the fibers together with the felting pen and mat until you create a cylindrical body about 4-5cm in length. Shape the body until the top portion is thinner than the bottom. This distinguishes the top from the base for the standing rabbit.
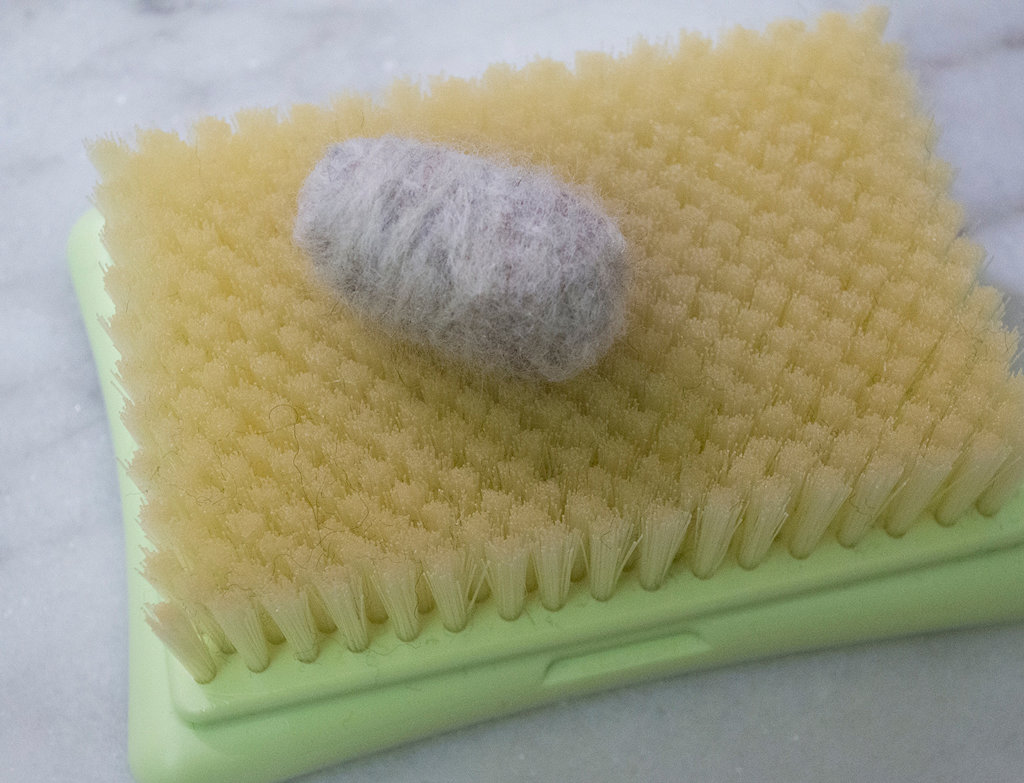
Once you are happy with the shape, felt it thoroughly to create a dense wooly torso. Build upon the body with thin lengths of roving if the bunny doesn’t have the right shape.
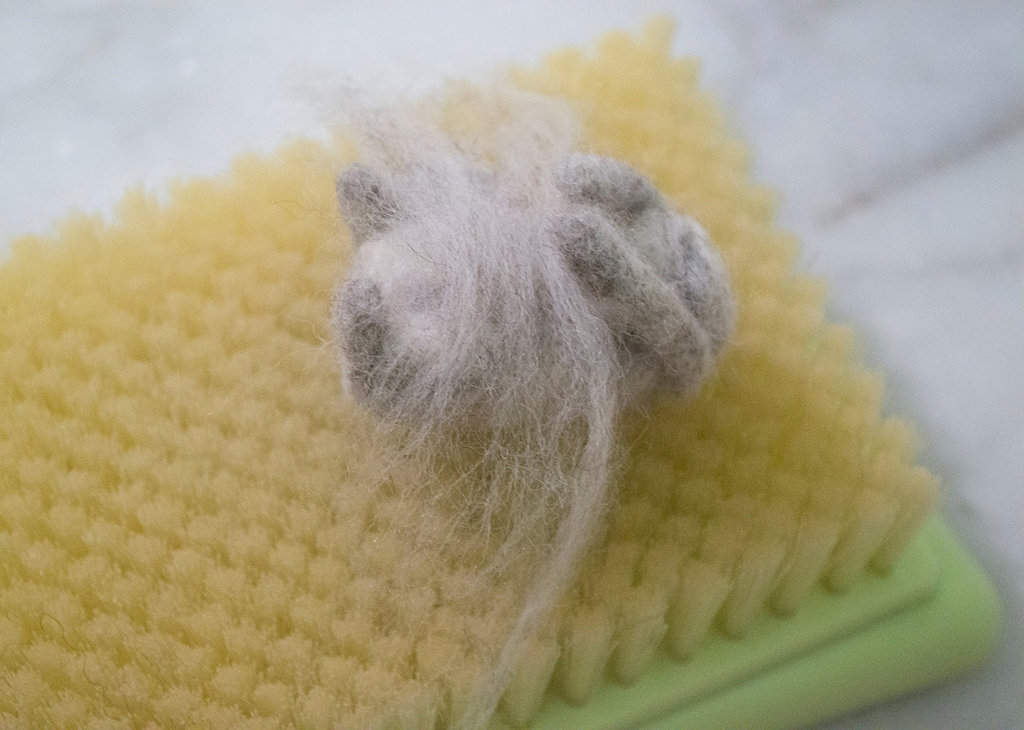
Make a head with half of the leftover wool roving, shaping it into a squat raindrop.
Shape a hind leg with some of the wool, about the size of a US penny. Create a spherical shape, and then elongate it into more of an oval. Make two, one for each side of the lop bunny.
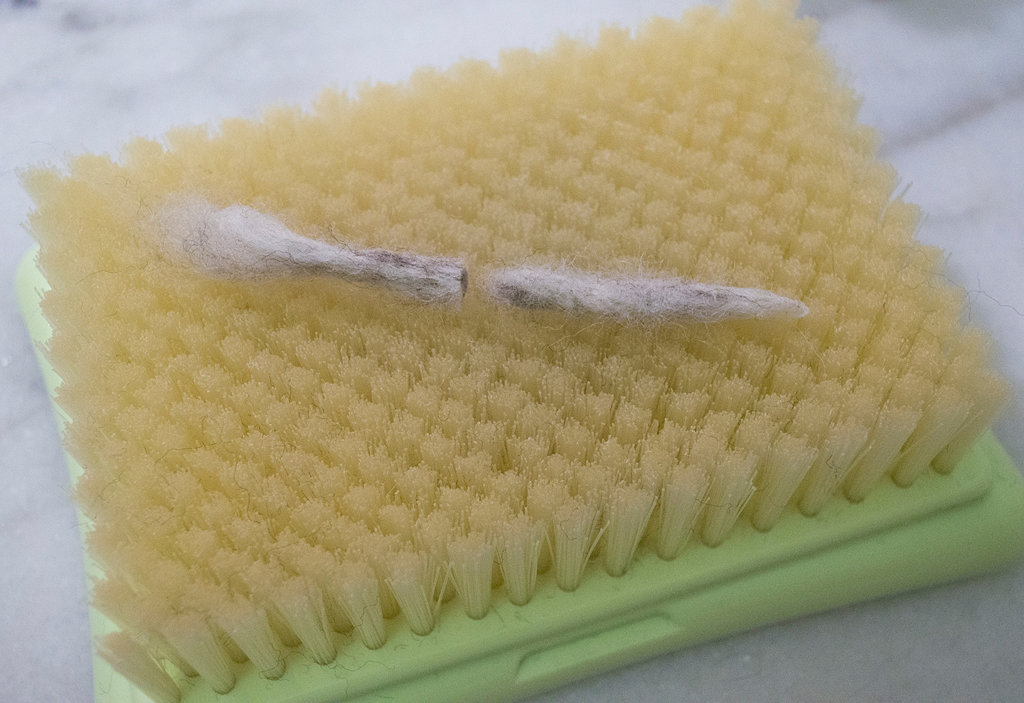
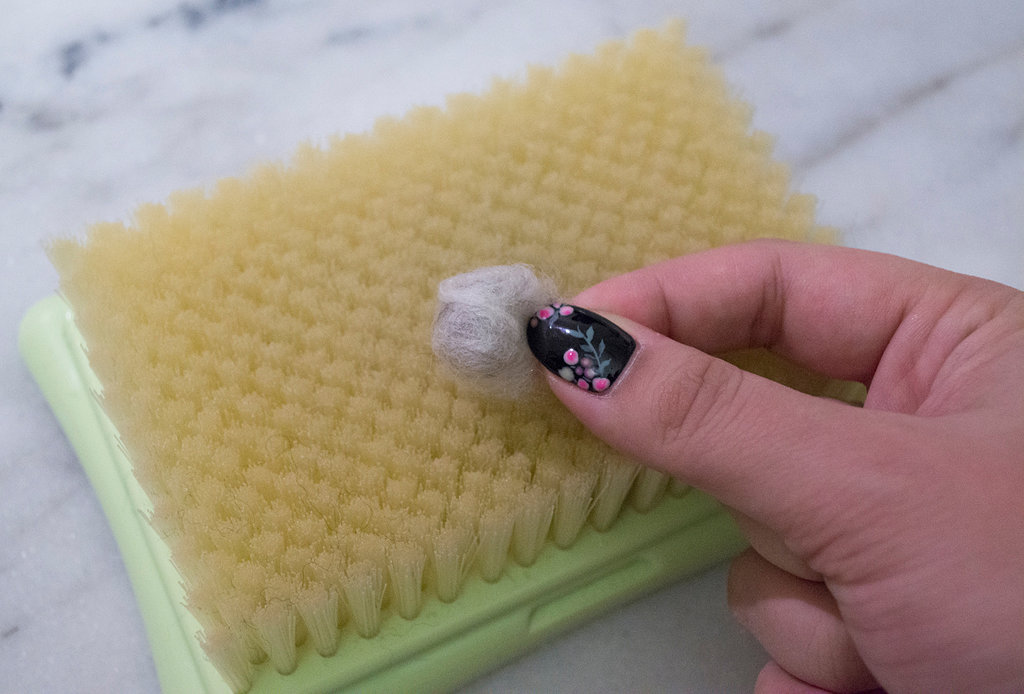
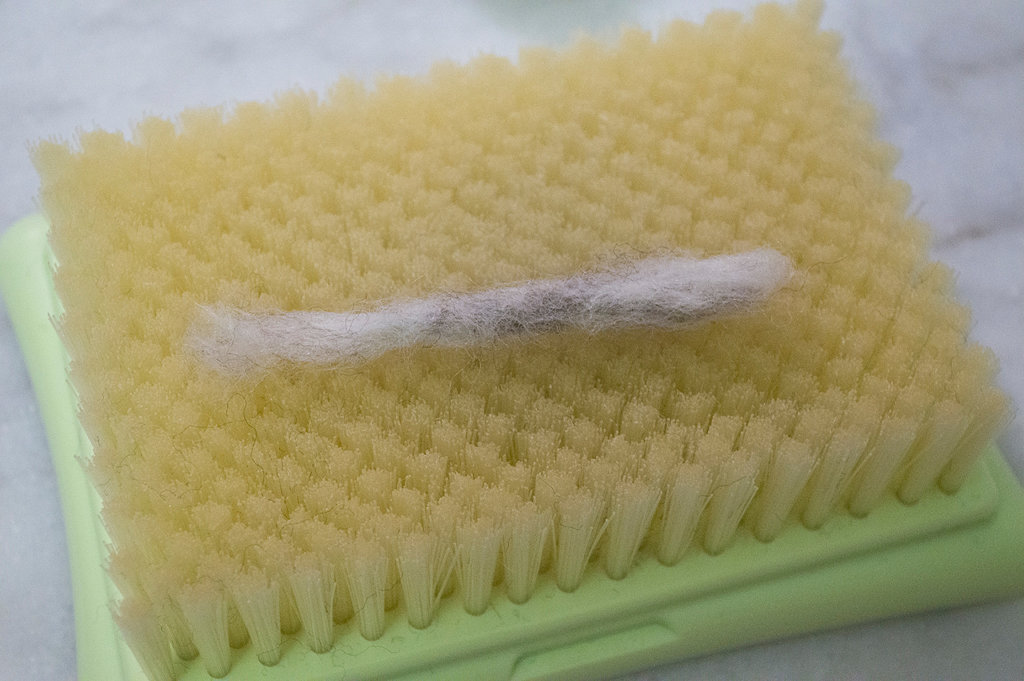
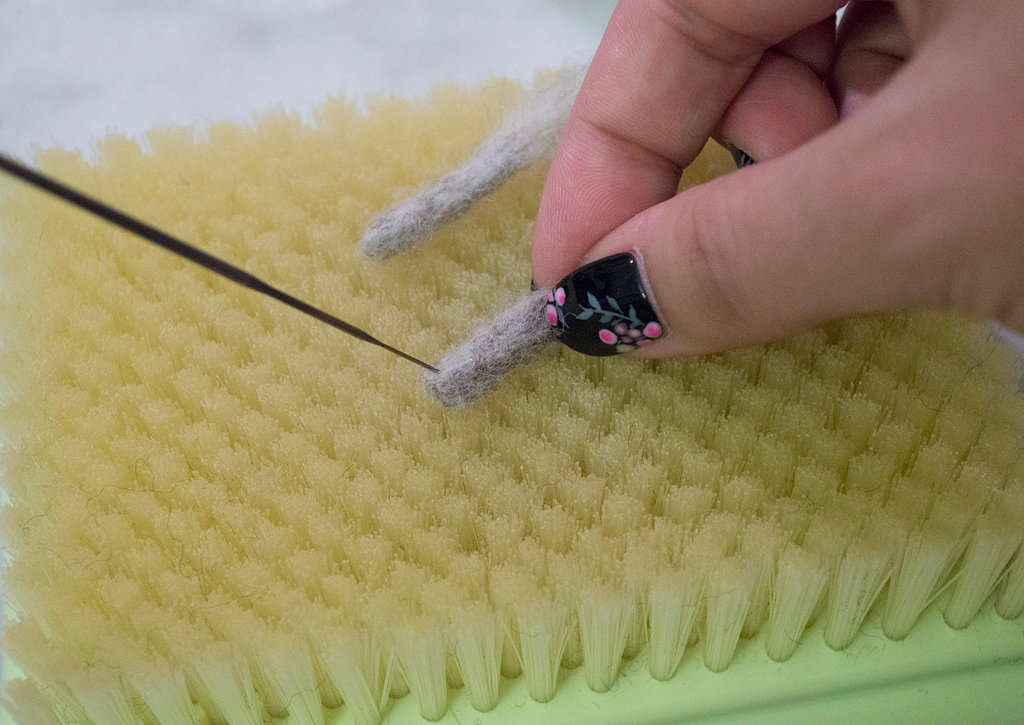
Take some more of the blended wool for the front legs, and rub the wool between the palms of the hands. Rub and felt the wool until it shapes into a tube, keeping both ends of the tube un-felted. Cut the tube in half, contour the paws, and attach all four parts of the leg onto the torso.
Position the front legs on the sides of the torso, making sure the arms are on the same level with each other. Tack them onto the torso and secure them with a thin layer of roving. Do the same with the hind legs, but bring them slightly forward.
Make the hind feet in the same method as the front legs (with slightly less wool), by rubbing the wool between the hands and creating a tube. Use the speed needle if the tube is small.
Cut the tube in half, and contour the feet into a round cap, just like the front paws.
Attach the feet onto the hind legs using a speed needle. Secure the feet with a thin layer of roving.
For any felting project, using thin layers of wool (shown above) can really help shape a lop bunny into an even cuter rabbit! Just build upon the structure that is already there with more wool and a felting tool.
Attach the head to the body by using a length of wool and wrapping it around its neck like a scarf. Tack the wool down onto the head and body; add more wool as necessary.
Take enough wool to make some ears. Needle felt a flat piece of wool. Cut out two ears from the flat piece of felted wool and attach it to the head of the bunny with a speed needle.
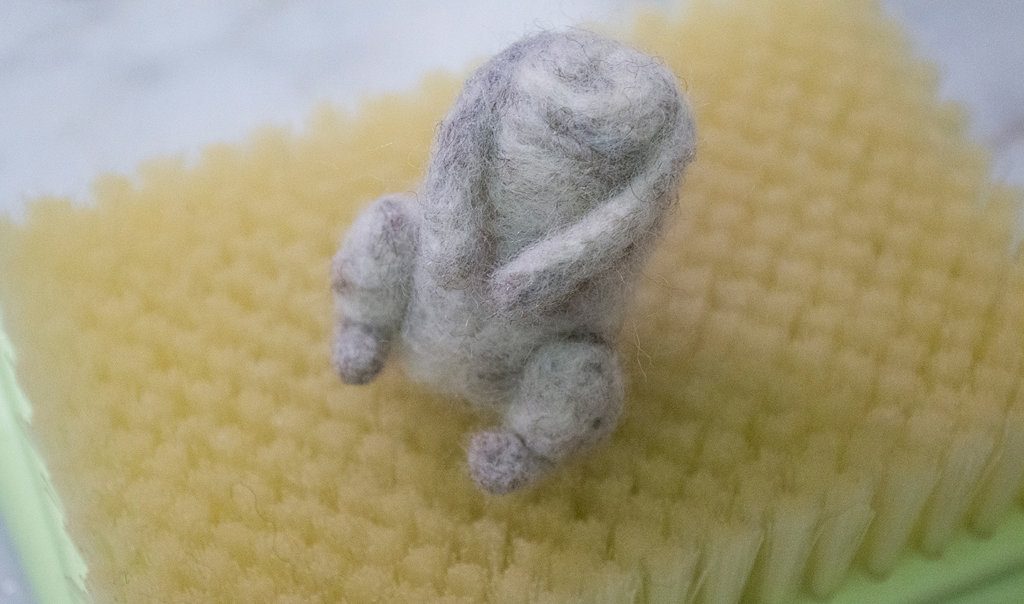
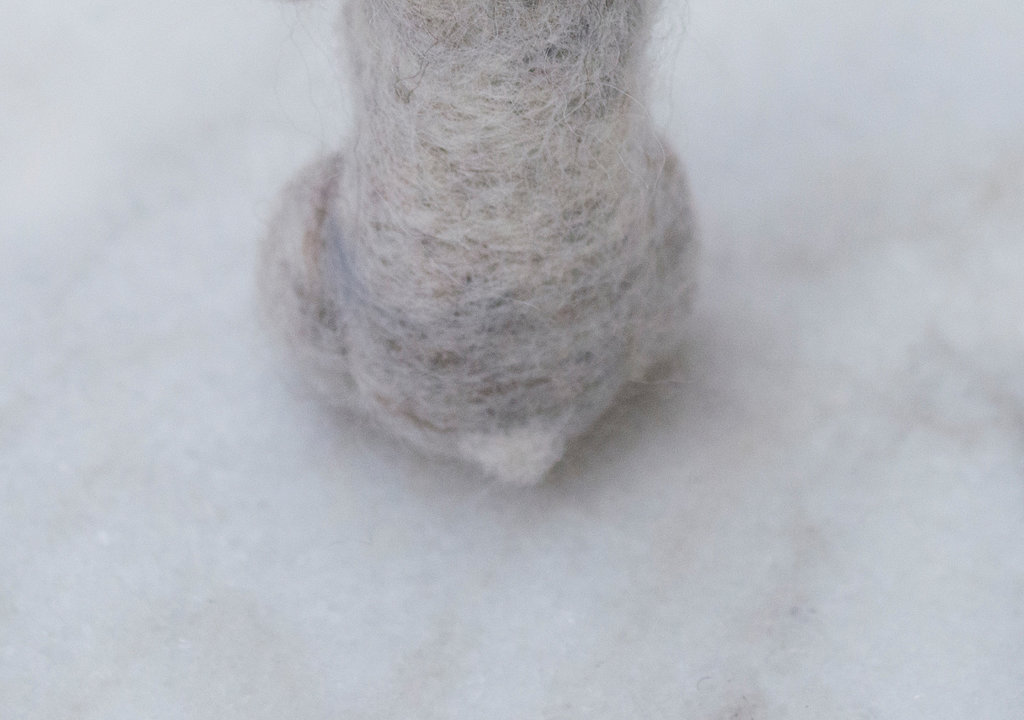
Contour the hind legs with the single needle, creating that seam and distinguishing it from the body.
Take more roving, as necessary, to secure and smooth out sections of the lop bunny. Bulk up the top part of the front legs to create a seamless look, so it doesn’t look like the legs are separate from the body. Equally, felt on some wool for her hind legs and base of the body to make a bulkier tummy.
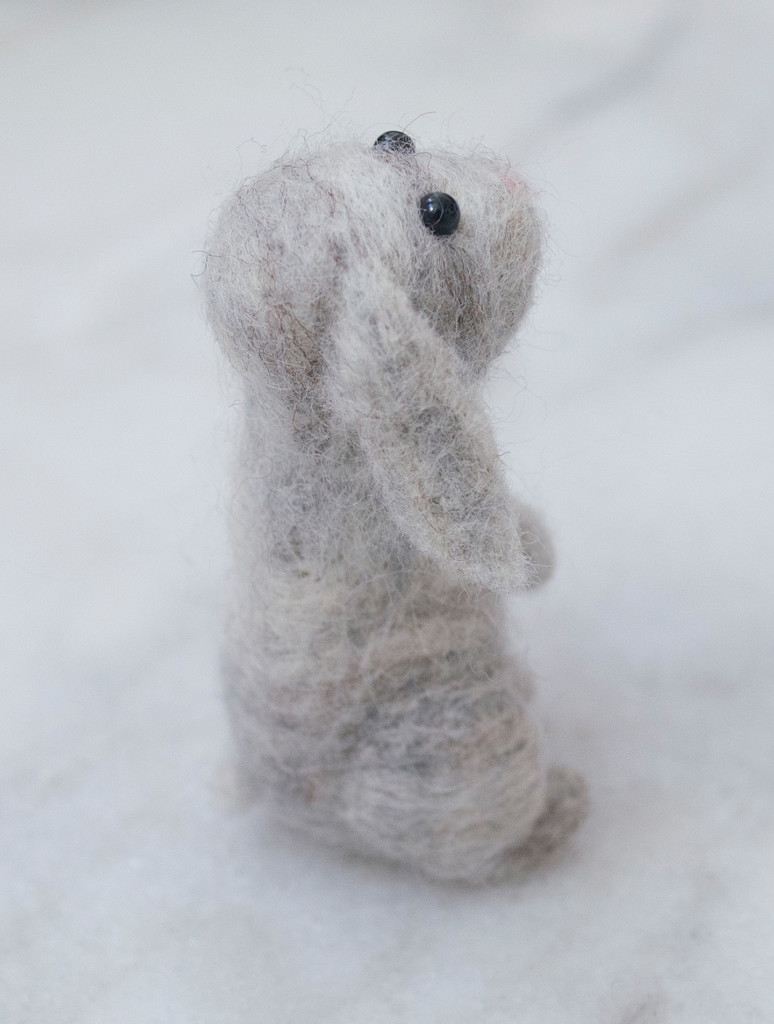
Take a scrap piece of pink roving, or some brown wool, and make a nose for the bunny. She has to breathe too, right?
And poke two holes on the face for gluing in two beady eyes. She’s a curious little rabbit. She wants to see everything!
Finally, add a tail with a scrap fluff of wool using the single needle. Make any adjustments (Does her torso look okay? Are her feet and legs proportionate? Does she have a noticeable tummy? Is her head too small?) and then glue in her eyes.
*If, at any point, you run out of blended wool, just make some more! Just remember to mix a similar ratio of wool as your original batch.*
**The links below are affiliate links to the tools I use for this project. Please, feel free to browse and ask questions on anything you see listed below. If you make a purchase, it will help towards the running of Everybunny Crafts!**


